
WSL2: A Lightweight Alternative to a Linux Virtual Machine
Introduction
The second major release of the Windows Subsystem for Linux, named WSL2, allows a Linux kernel to run inside a low footprint virtual machine on Windows. Support is given for users to install more than one distribution of their choice on top, such as Ubuntu, openSUSE, Debian and Kali, all accessible from the same Windows host. As explained in the WSL documentation, the WSL provides users with the ability to:
- Run common command-line tools such as grep, sed, awk, or other ELF-64 binaries
- Run Bash shell scripts and GNU/Linux command-line applications
- Tools: Vim, Emacs, Tmux
- Languages: NodeJS, Javascript, Python, Ruby, C/C++, C# & F#, Rust, Go, etc
- Services: SSHD, MySQL, Apache, lighttpd, MongoDB, PostgreSQL
- Install additional software using your own GNU/Linux distribution package manager
- Invoke Windows applications using a Unix-like command-line shell
- Invoke GNU/Linux applications on Windows
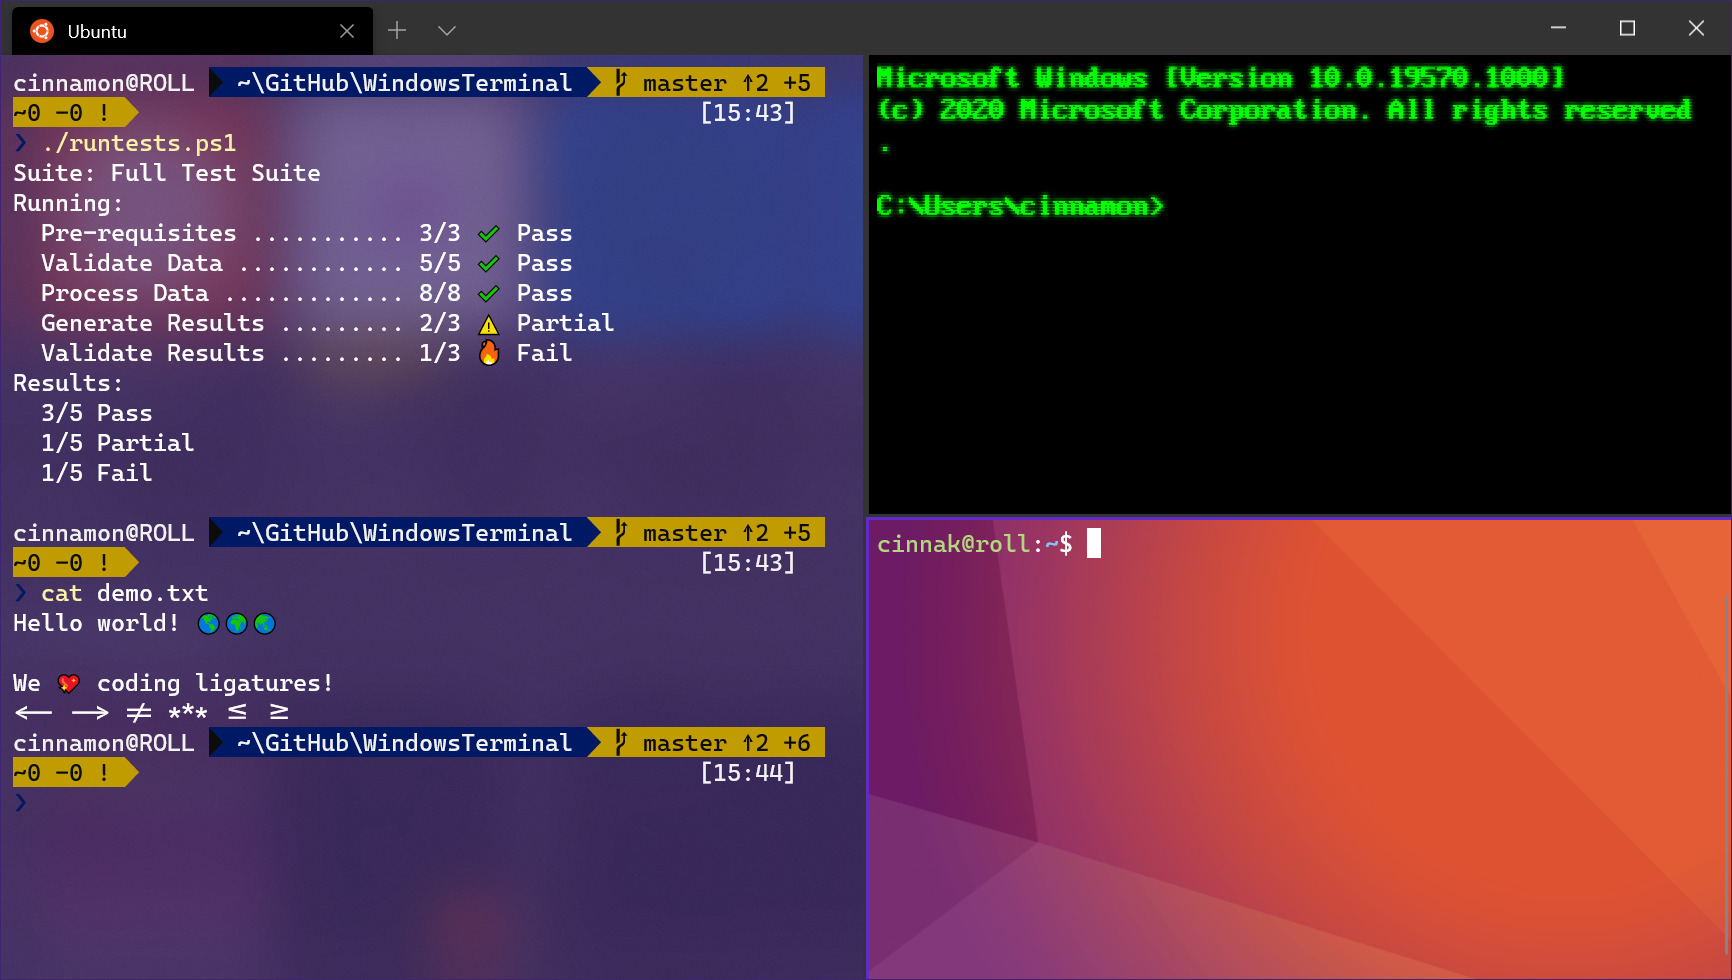
What's great here is that it's possible to have a single Windows Terminal instance running from within Windows, with
tabs open for a number of different Linux environment command line interfaces.
For those who like Linux but want the freedom to use Windows software with low overhead, WSL2 is a good option to
consider. No more switching focus from native Windows to a dedicated Linux virtual machine running in VirtualBox;
WSL2 allows PowerShell and Bash to both be accessible from within the same program.
 Source: Kayla Cinnamon, Microsoft DevBlogs.
Windows Terminal with splits for Bash and CMD.
Source: Kayla Cinnamon, Microsoft DevBlogs.
Windows Terminal with splits for Bash and CMD.
Installation
Setting up WSL is straightfoward. First you'll want to enable it as a Windows feature by running the following:
dism.exe /online /enable-feature /featurename:Microsoft-Windows-Subsystem-Linux /all /norestart
dism.exe /online /enable-feature /featurename:VirtualMachinePlatform /all /norestart
By default, Windows only has the first major WSL release installed. To use WSL2 you'll need to install it on top and set it as the default version. To do so, run this:
wsl --set-default-version 2
Since version 1 will be the only version available, setting the default as above
will produce an error. The message will contain an up-to-date link on where to install the latest version -
follow it and go through the process. Once done, rerun the original command:
wsl --set-default-version 2
Now install a Linux distribution from the Microsoft Store. Simply search for and install it as you would with any other
Microsoft Store app.
That's the process complete. Both Ubuntu.exe (or equivalent) and
wsl.exe will now open a Bash terminal. I recommend updating straight away, as you
would with a native Linux install:
sudo apt-get update
Importing an existing WSL setup onto a new machine
The wsl CLI provides a means to export distribution configurations to tarballs, which
can then be imported onto new machines. To do this, you'll want to take the name of your distribution and run the export
command against it:
wsl --export {distribution-name} {output-path}
Next, carry out a fresh WSL installation on the new machine using the same distribution and version as the one to be
imported. When the install is done and the Linux terminal prompts creation of a new user, close the window. We want to
avoid this for now - we'll be importing our existing user later.
On the new machine, locate the %LOCALAPPDATA%\Packages folder and find the subfolder
where the distribution was just installed. If you installed Ubuntu, this may look like:
...\Packages\CanonicalGroupLimited...\LocalState.
Unregister your newly installed distribution by passing this install path into the CLI's
unregister switch:
wsl --unregister {install-path}
This will unregister the new distribution but the leave the Ubuntu Appx package installed. We're now ready to import our existing configuration. Using your distribution name, the path to your new installation, and the path to the backup you created, run the following:
wsl --import {distribution-name} {install-path} {backup-path}
One more thing - from a Linux terminal on the new machine, you can set the user from your original distribution to be the default on the new one:
Ubuntu.exe config --default-user {username}
That wraps up this guide. WSL can now be integrated into your personal development environment too, with VSCode making
the process straightforward. The
Remote - WSL
VSCode extension allows seamless use of editor configuration when working with files on a WSL distribution's filesystem.